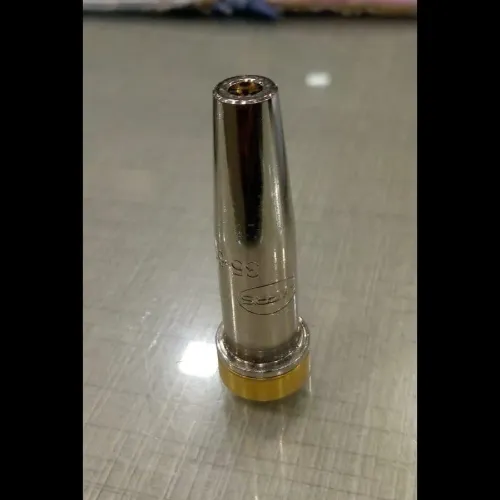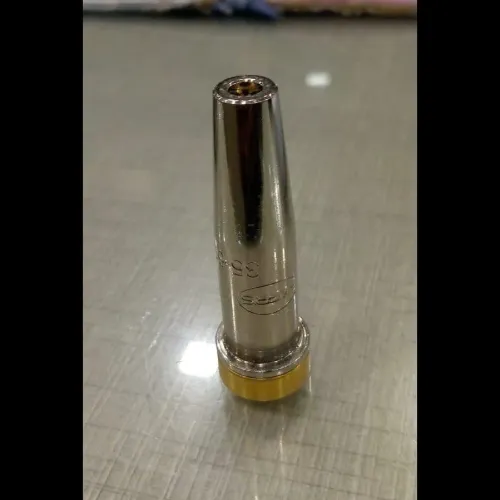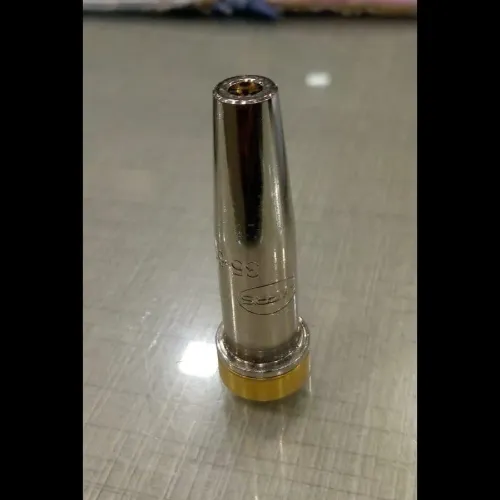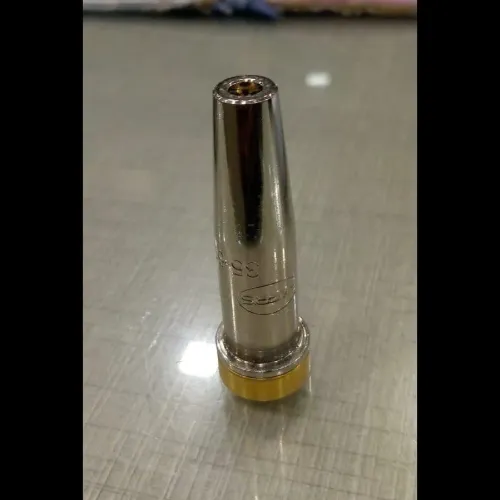
Controlled heating is not simply a matter of producing a large flame: the operator must match the tip, gas settings, flame chemistry, movement and temperature checks to the workpiece. By the end, you will know how to set up a K-43 safely, select a controllable heating method and recognise when the torch is unsuitable for the job.
Key takeaways
- Match the K-43 tip and gas pressures to the workpiece and heating task.
- Check cylinders, hoses, regulators and connections before lighting the torch.
- Move the flame continuously to distribute heat and prevent local hot spots.
- Choose manual K-43 control when flexibility matters more than automatic repeatability.
What controlled heating means with a manual K-43 torch
Controlled heating means controlling heat input and checking the metal, not trusting flame appearance. A Harris K-43 manual torch has no sensor or feedback loop: it will not measure workpiece temperature or reduce gas when the target is reached.
The operator controls the result by setting the flame, distributing heat, moving at a consistent speed, and measuring the part.
Write the setup down before lighting:
- The selected tip and its intended heating area
- Regulator pressures for oxygen and LPG
- The oxygen-to-LPG mixture, adjusted to a neutral flame
- Torch stand-off distance from the workpiece
- Travel speed and planned heating pattern
- Target temperature, measurement points, and checking interval
A broad tip with continuous movement spreads heat more evenly than a small, intense flame held in one place. Stationary heating can melt or distort a thin edge while the average workpiece temperature still looks acceptable; corners, thin sections, and metal beside a weld heat faster than thick central areas.
Check temperature with a contact pyrometer or temperature-indicating crayon at the specified locations. If the procedure requires preheat, interpass, soak, or cooling limits, follow those measurements and records; the K-43 supplies heat but does not prove compliance. For tightly repeatable production heating, add thermocouples, data logging, or a controlled burner arrangement.
Match the K-43 tip, pressures and workpiece to the job
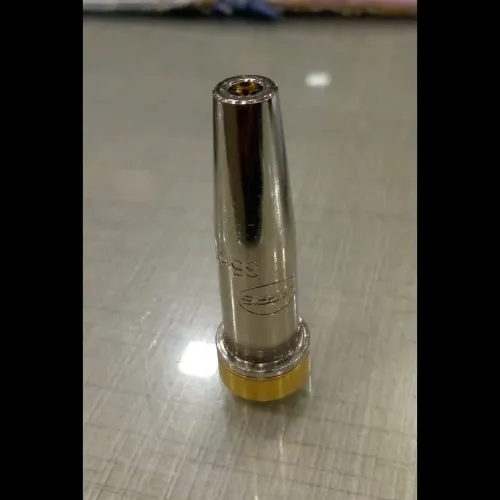
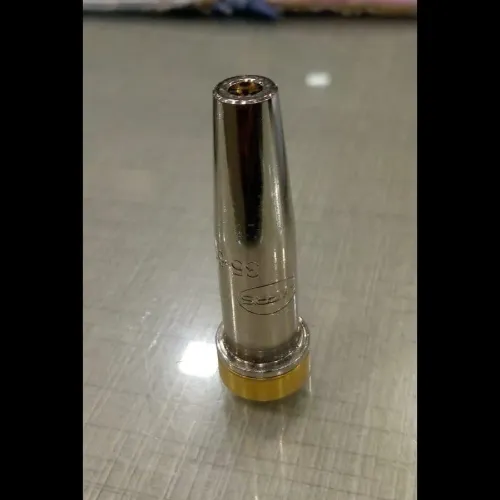
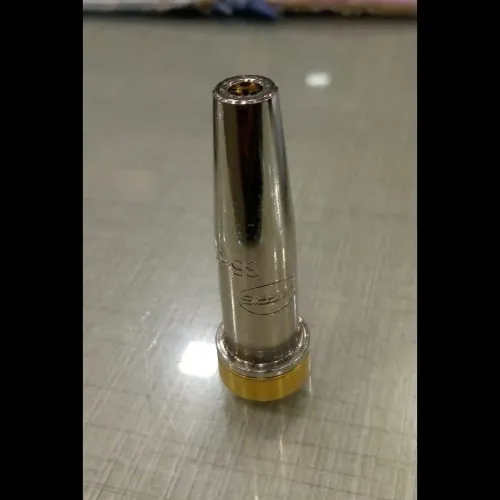
Even heating starts with the correct Harris tip, not the highest available pressure. Match the tip or nozzle to the fuel gas, workpiece thickness and required heating area; a broad tip suits plate preheating, straightening and loosening, while a small tip concentrates heat and increases the risk of melting, distortion and steep thermal gradients.
Check the K-43 inlet connections before attaching hoses. They must match the specified oxygen and LPG connections, hose type and protective devices; never force an adapter or interchange fuel-gas fittings. Set gas pressure and flow rate within the published range for that exact torch-and-tip combination.
Exceeding the limit can create excessive flame velocity, unstable combustion or flashback instead of useful heat.
| Tip choice | Heating result | Best fit |
|---|---|---|
| Broad Harris tip | Wider, slower, more even heat | Preheating, bending, straightening and seized parts |
| Small Harris tip | Faster, concentrated heating | Local heating on a thin or narrow section |
| Oversized or unapproved tip | Excess flow and unstable combustion | Do not use |
Keep the flame neutral and maintain the specified torch-to-work distance. A thick section needs more distributed heat and slower movement than a thin edge; do not compensate for an undersized tip by raising pressure. Use a check valve for reverse-flow protection and a compatible flashback arrestor for flame-front protection.
If a welding procedure specifies preheat or interpass temperature, verify it with a temperature crayon or pyrometer; the K-43 does not establish compliance.
A repeatable operating sequence from cylinder check to shutdown
1. Inspect the cylinders, regulator faces, torch body, valves, hoses, tip and fittings. Reject oil, grease, damaged threads, cracked hoses, blocked orifices and loose parts. Confirm that the fuel, tip and inlet-pressure range match this K-43 configuration.
2. Fit gas-specific regulators, hoses, a compatible check valve and a flashback arrestor in the locations specified for the torch and fuel system. Make the oxygen LPG hose connection without forcing fittings or mixing hose colours.
3. Close both torch valves, back off the regulator adjusting screws, open each cylinder valve slowly, and set the published working pressures. Complete leak testing with an approved leak-detection solution at cylinder outlets, regulator joints, hose connections and torch inlets; bubbles mean isolate and repair before lighting.
4. Purge each hose separately into a ventilated, ignition-safe area, never into a confined space. Close the valves, then open the LPG torch valve slightly and light it with a friction spark lighter.
5. Add oxygen gradually until the flame has a defined inner cone and a neutral appearance. Do not enlarge the tip, chase a loud flame, or exceed the K-43 pressure and flow limits.
6. Hold the specified stand-off distance, keep the flame moving across the planned zone, and monitor the workpiece with the chosen temperature method. Stop if the flame flashes back, pops repeatedly or the hose heats.
7. Close the torch oxygen valve, then the LPG valve. Close both cylinder valves, bleed pressure from each hose through the torch in a safe ventilated area, back off both regulators, and inspect for leaks before storage.
Preheating, bending and loosening without creating hot spots
Keep the flame moving instead of parking it on one spot. Sweep a broad heating tip side to side, overlap each pass, and hold a consistent stand-off distance. This spreads the thermal gradient and reduces local melting, distortion and narrow overheated zones.
Use the movement pattern that matches the job:
- Welding preheat: Heat both sides of the joint where access permits, working outward from the weld line. Check the steel preheat temperature with a temperature crayon or contact pyrometer; measure beside the joint, not inside the flame.
- Interpass heating: Clean the previous bead, move the flame across the surrounding zone, and verify the interpass temperature before depositing more metal. Do not rely on flame color or surface appearance.
- Brazing: Sweep the flame across both base metals and bring the joint to temperature evenly. Heat the work, not the filler rod; the rod should melt from contact with the hot joint.
- Bending: Warm a broad band along the intended bend, advancing gradually as the section responds. A small intense flame creates a sharp hot zone and can buckle or crack the part.
- Shrinking or loosening: Use a defined, moving heat pattern for shrinking. For seized nuts or joints, heat the part you want to expand while protecting seals, bearings and nearby components.
Scale, reflected light and surface emissivity can hide hot spots. Record the target temperature and travel pattern, then stop heating when the measurement reaches the procedure’s limit. A K-43 supplies heat; it does not prove compliance with a welding or brazing procedure.
Choose the K-43 when flexibility matters more than automatic repeatability
Choose the K-43 when you need an operator to move heat around irregular geometry, varying thicknesses, or awkward repair areas rather than repeat an identical temperature cycle.
It is not a temperature-sensing system: repeatability depends on a written setup covering fuel, oxygen pressure, tip, stand-off, travel pattern, and target temperature, plus a thermocouple or temperature crayon when the result matters.
| Option | Strength | Choose it when |
|---|---|---|
| Oxygen-LPG versus oxy-acetylene | Broad, flexible heating versus a hotter, more concentrated flame | Use the K-43 for preheating, bending, loosening, or shrinking large steel areas; choose oxy-acetylene for concentrated heat, welding, or faster local work |
| Propane-air torch | Simpler air-fuel heating with lower intensity | Use it for slower, less demanding warming where oxygen cylinders and rapid heat input are unnecessary |
| Induction heating | Fast, localized electrical heating with strong repeatability | Choose it for conductive parts, controlled production cycles, and jobs that justify coils, power supply, and fixturing |
| Resistance heating | Heat generated through electrical contact or a resistance element | Choose it for defined joints, bands, or fixtures where contact and part geometry support uniform current flow |
A K-43 becomes the wrong choice when every part needs the same temperature history, logged data, and automatic correction. Rahul Industrial Products can help verify that the selected tip and gas-control equipment match the planned heating method; do not substitute a production fixture for operator judgment without validating the temperature pattern.
Related product
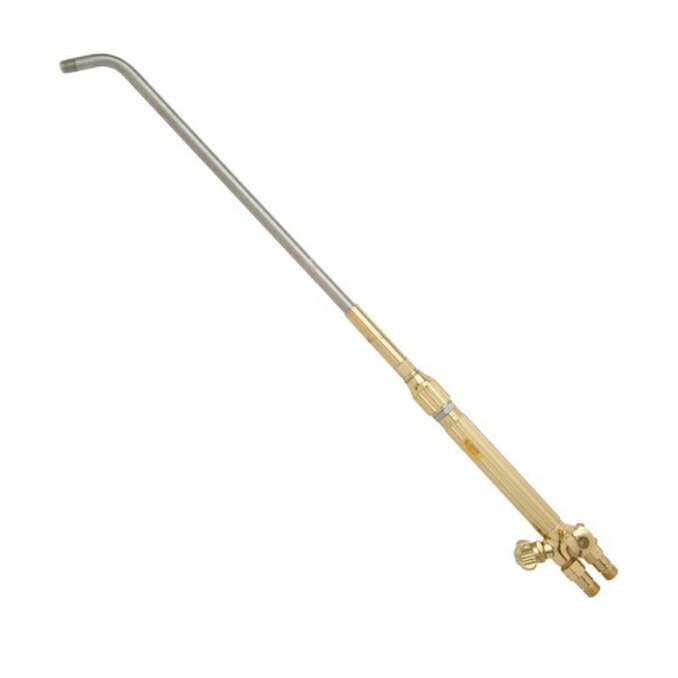
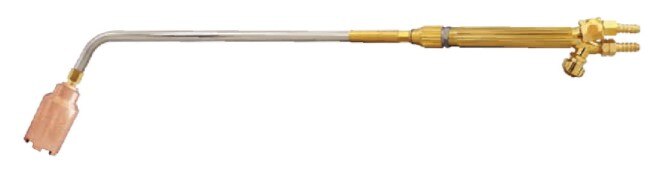 | Welding Consumables Harris Oxygen LPG Heating Torch K-43 High-Performance Industrial Heating Torch for Fast and Efficient Heating The Oxygen LPG Heating Torch is a powerful industrial heating tool designed... View product → |
Frequently asked questions
What does controlled heating mean when using a manual Harris K-43 torch?
It means controlling flame position, movement, gas settings and heating time while checking the metal. The K-43 has no temperature sensor or feedback loop.
How do you match a K-43 tip and pressures to the job?
Select the tip for the required heat and workpiece size, then use the manufacturer’s specified fuel-gas and oxygen pressures. Confirm the regulator, hose and torch ratings before operation.
What is a repeatable operating sequence for a Harris K-43 torch?
Check cylinders and connections, inspect hoses and regulators, set pressures, purge safely, light and adjust the flame, heat with continuous movement, then shut down and close the cylinders.
How can you preheat, bend or loosen metal without creating hot spots?
Keep the torch moving, sweep across the required area, maintain a consistent working distance and check the workpiece rather than judging temperature from flame appearance alone.
When is a K-43 manual torch preferable to automatic heating equipment?
Choose it when the job needs flexible flame placement and operator control. Automatic equipment is better when you need sensor-based temperature control and repeatable cycles.